The Image Flow is a powerful marketing tool that allows you to generate unique images for individual products or their combinations (pairs) using AI. Fozzels supports various Flow types, including Fashion and General Flows.
1. Creating a New Image Flow
1.1. Initiating the Flow
There are two main ways to start creating a new Image Flow:
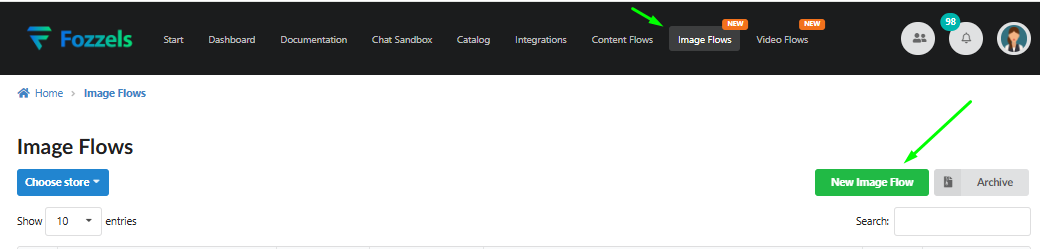
Go to the top menu and select Image Flows / New Image Flow.
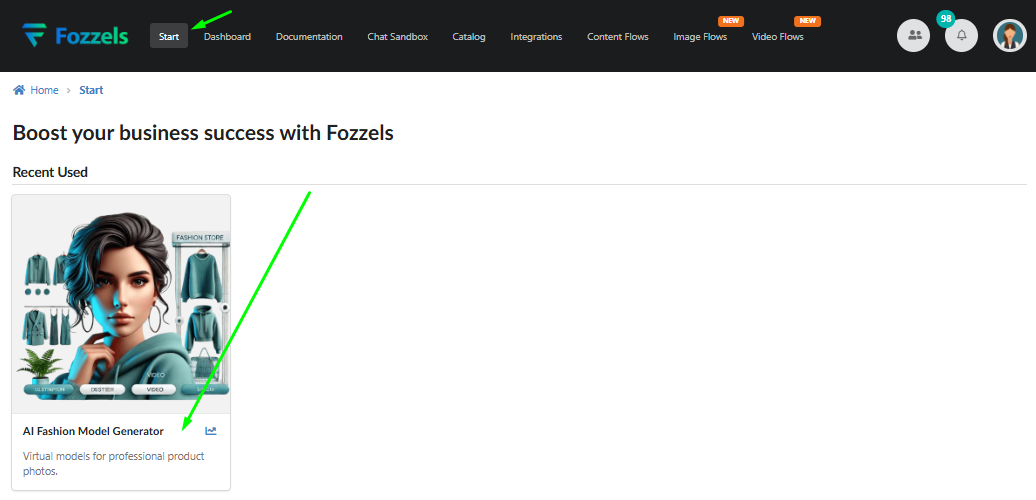
Go to the Start main page / AI E-commerce / AI Fashion Model Generator.
1.2. Selecting the Kind and Basic Configuration
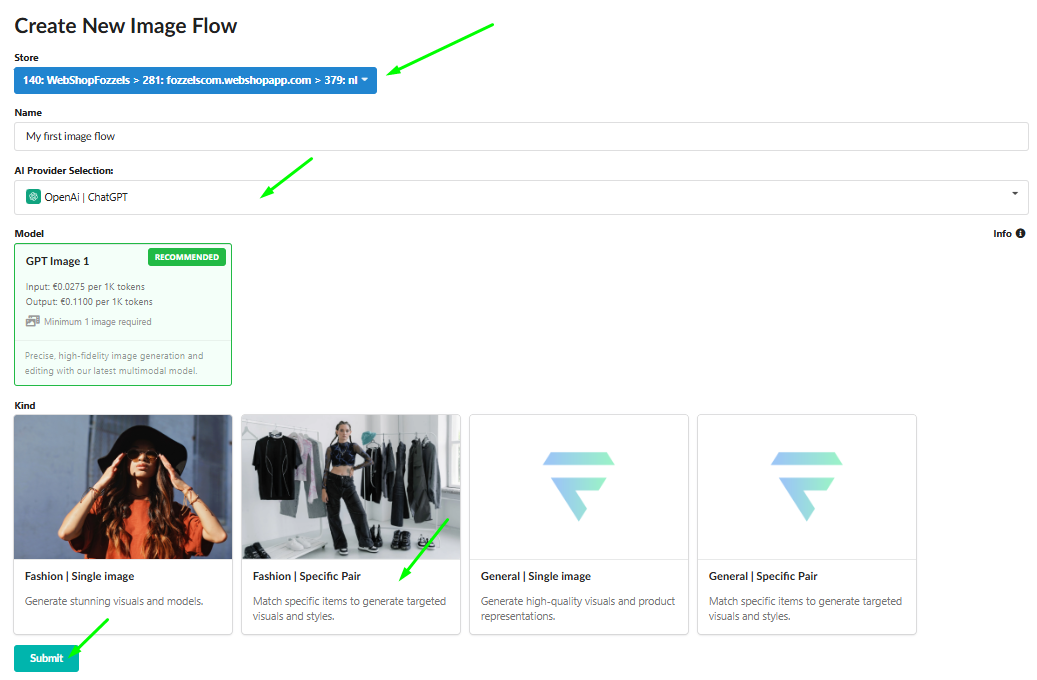
On the "Create New Image Flow" page, select the desired flow type (Kind):
Fashion | Single Image
Fashion | Specific Pair
General | Single Image
General | Specific Pair
- Verify that a green checkmark appears in the bottom right corner of the selected card.
- Select the store from the Choose store dropdown list (ensure the integration is active).
- Enter the flow name in the Name field.
- Select the AI provider (AI Provider Selection) from the dropdown list (e.g., OpenAI | ChatGPT or Google | Gemini).
- Click the Submit button.
2. Flow Configuration and Model Selection
After clicking "Submit," the Flow settings page opens.
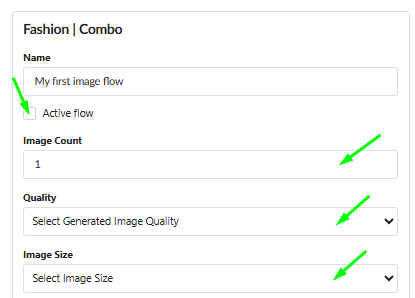
2.1. General Settings
Activate the flow by checking the Active flow checkbox.
Select the desired number of results in the Image Count dropdown (from 1 to 4).
Select the desired image quality (Quality: Auto, High, Medium, Low).
Select the desired image size (Image Size: Auto, Square, Landscape, Portrait).
2.2. Selection of Scene and Model
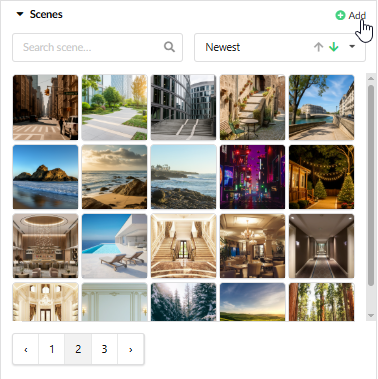
Navigate to the Scenes section. Choose one from the available options or customize your own background using the Color Picker panel.
Note: You can select a color shade by moving the cursor over the gradient or enter the color code manually (e.g., RGB, HEX, HSL).
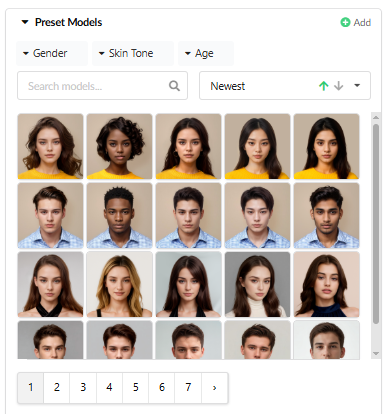
Navigate to the Preset Models section.
Select the model for generation. Use the available filters (Gender, Skin Tone, Age) for a quick search.
Ensure the checkbox is selected in the bottom right corner of the chosen model and background.
2.3. Managing Custom Media (Models, Scenes, Personal Items)
You can upload your own images to be used as custom models, scenes, or personal items (accessories, props).
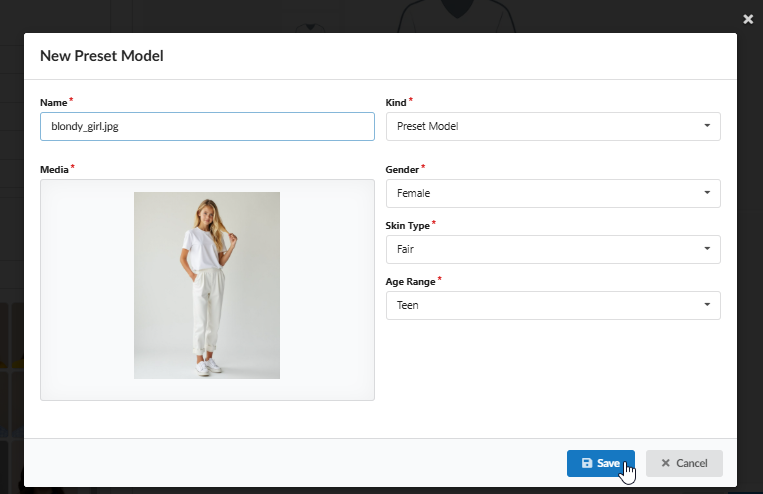
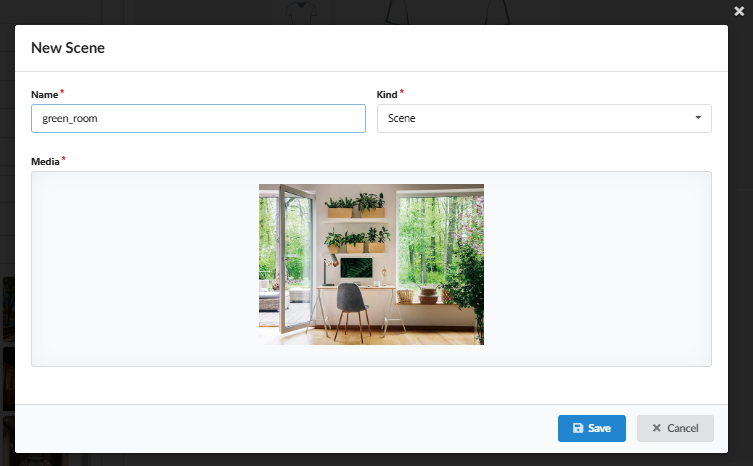
Click the Add button (usually located next to the section title, e.g., Preset Models or Scenes). This opens the New Preset Model pop-up.

Fill in the form:
2.1. Enter the Name for the uploaded image (The file name will be used by default, but you can change it).
2.2. Select the Kind from the dropdown menu (e.g., Preset Model, Scene, Video, Personal).Upload your media:
3.1. Click the "Click here to upload" area to open your device's file directory.
3.2. Select and upload your image file (must bejpeg,png,webp; max size 10 MB).Select the relevant metadata from the dropdown fields (Gender, Skin Tone, Age Range) if the Kind is Preset Model.
Click Save. The image will be added to the list of available images in the respective section.
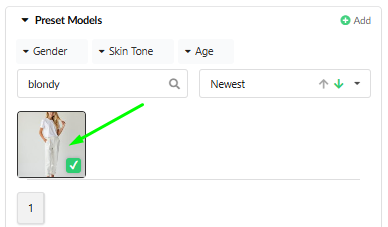
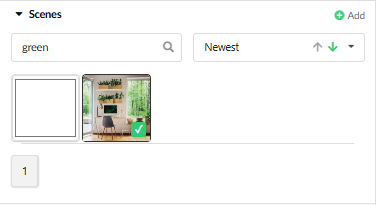
2.4. Filtering and Sorting Media
For easier management and selection of images within the Preset Models, Scenes, and other media tabs:
Filter the images using the dropdowns: Gender, Skin Tone, and Age.
Search for an image by name using the Search input field.
Sort the list using the dropdown next to the search bar by: Newest, Name, or Media Visibility (which prioritizes your own uploaded images first).
Use the pagination at the bottom to navigate large libraries.
3. Product Selection and Prompt
3.1. Selecting the Product(s)
Navigate to the Top Product Image section (and Bottom Product Image for Specific Pair Flows).
Select the desired product by clicking on its thumbnail in the gallery; a green checkmark will appear.
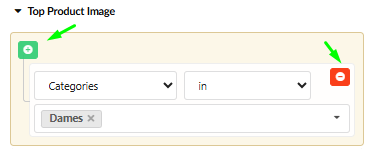
Use the filter system to refine the product selection:
3.1. Click the '+' button to add a new filter condition.
3.2. Select any available product attribute (e.g., Categories, Color, Status) from the dropdown menu.
3.3. Choose the appropriate operator (e.g., in, not in, equal).
3.4. Specify the value(s) for the chosen attribute.
3.5. Click the '-' (minus) button next to the condition to remove it.Caution: If filters are not applied, content will be generated for ALL products currently in your store.
Select the base image for generation: 4.1. Observe the full image gallery of the selected product in the central preview block. 4.2. Click on the specific image you wish to use as the "base" for the AI generation.
Note (Specific Pair): Ensure you select a visually appealing combination (look) immediately.
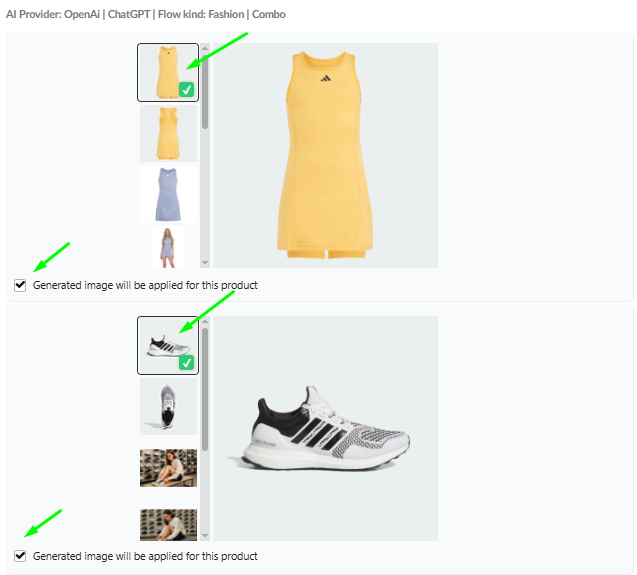
Fill in the Prompt field (This is crucial; the field cannot be empty). The quality of the generated result directly depends on a clear and detailed prompt.
Manage Prompt Templates:
2.1. Click the Load button to import an existing prompt from a list of templates.
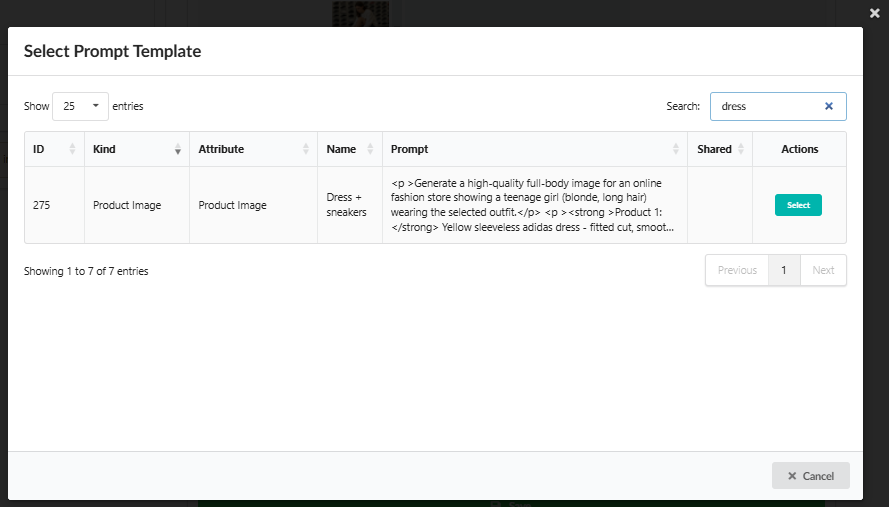
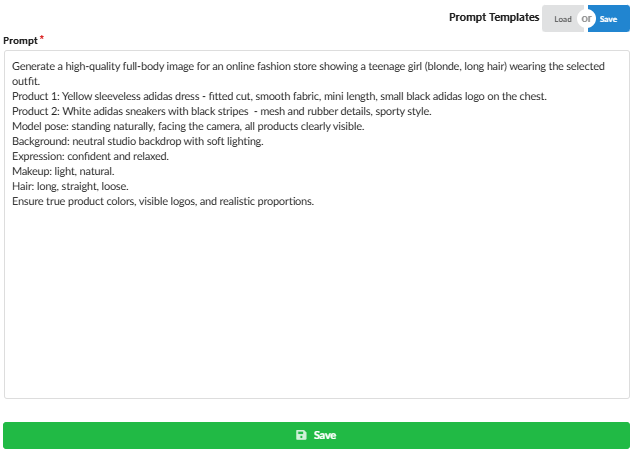
2.2. Click the Save button to store your current prompt as a reusable template for future flows.Configure synchronization:
3.1. Check the box next to "Generated image will be applied for this product" to synchronize the generated image to this specific product.
3.2. Note (Specific Pair): You do not need to check the box for both products; select the one you want to update.Click the "Save" button to save the created look (pair) to the results list.
Continue building the next look (pair) by repeating steps 3.1. and 3.2.
4. Generation, Review, and Finalization
4.1. Launching the Generation
Go to the Batch List (accessible via the Result section).
Confirm the generation by setting the status to "Confirmed".
Note: Each generation is paid, so confirmation is required before starting.
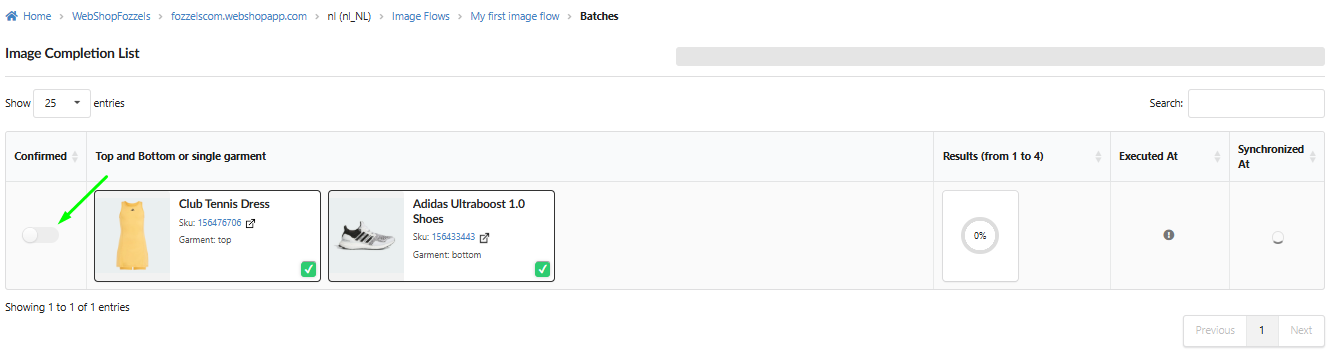

Track the generation process using the loaders in the Batch List and the Result section.

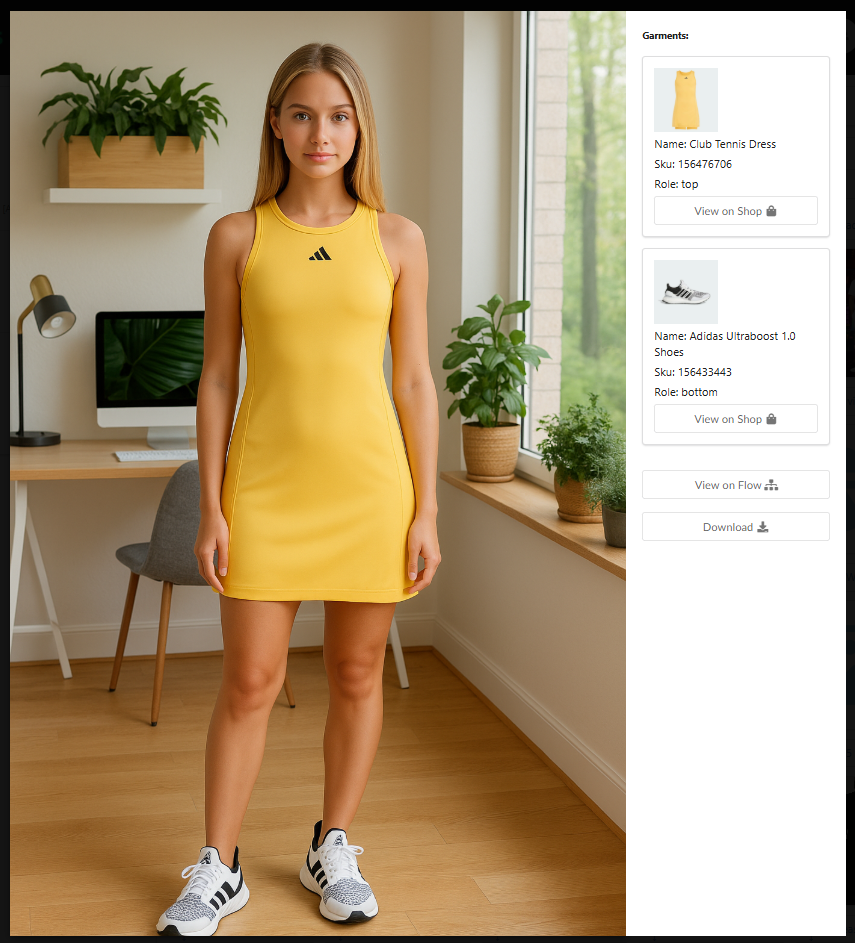
4.2. Reviewing and Selecting Images
After generation is complete, click the "Preview" button in the results list. This opens the Completion view comparison page.

Use the Zoom function for a closer look at details.
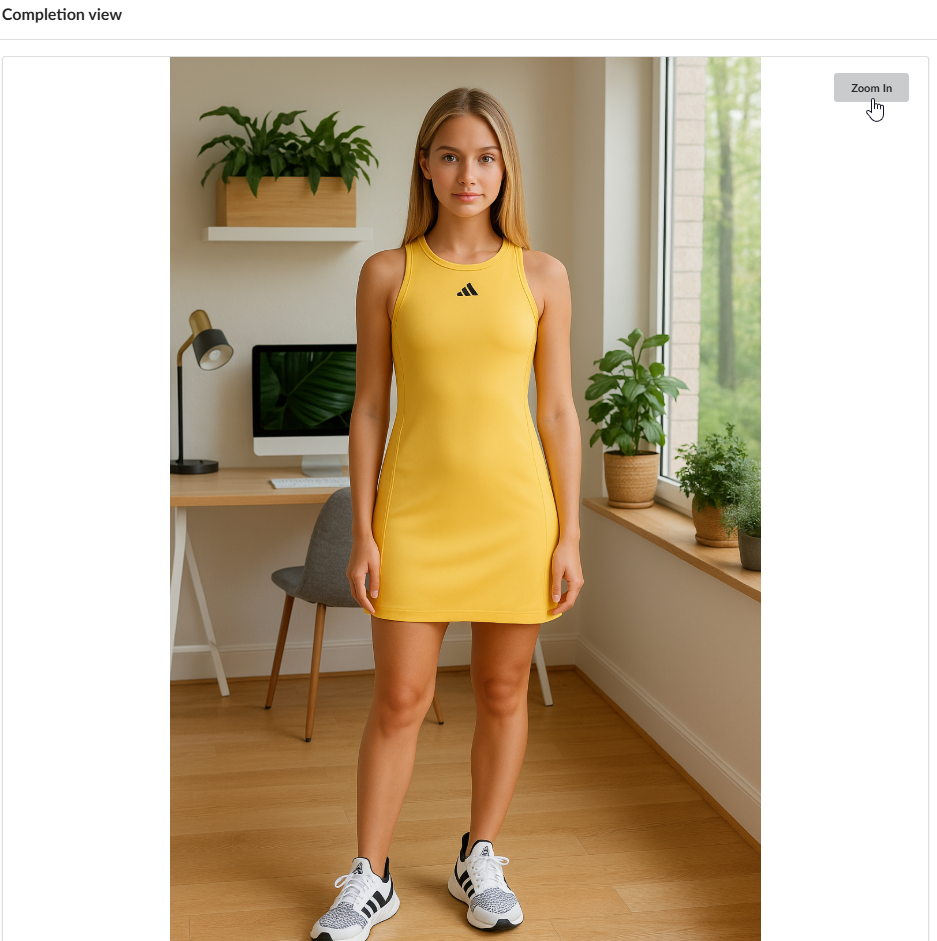
Select the best images for synchronization (from 1 to 4) by clicking the "Select" button on the image overlay.
Caution: This action cannot be undone. Choose carefully!
Note: Before synchronizing new images to the website, we recommend checking their quality and selecting the most suitable one.
4.3. Working with Generated Results and Final Synchronization
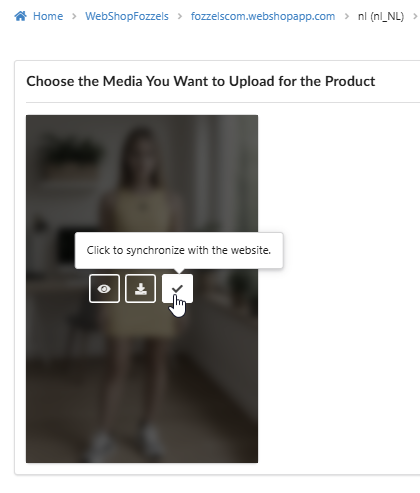
After the generation is complete, you can interact directly with the image thumbnail:
View (eye icon): Click to view the image in full size.
Download (arrow down icon): Click to download the image to your device.

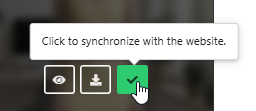
Synchronize (checkmark icon): Click to synchronize the generated image with the website immediately.
After synchronization is complete, verify that the "Synchronized At" column shows the corresponding entry.

Check the result on your website by clicking the product card link.
Access all generated results later by going to your profile and clicking on Generated Images. Here you can sort, view, and download your images.
Was this article helpful?
That’s Great!
Thank you for your feedback
Sorry! We couldn't be helpful
Thank you for your feedback
Feedback sent
We appreciate your effort and will try to fix the article