This guide outlines the simple, step-by-step process for activating your Fozzels account, from initial sign-up to full content generation.
2.1. Account Registration
Access the platform: Open the Fozzels website at
https://app.fozzels.com/and select the Sign up option.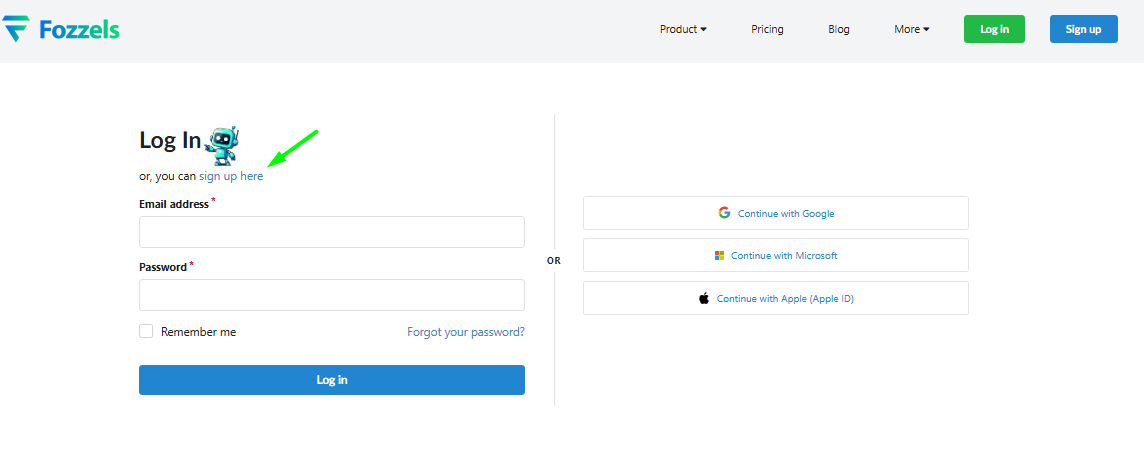
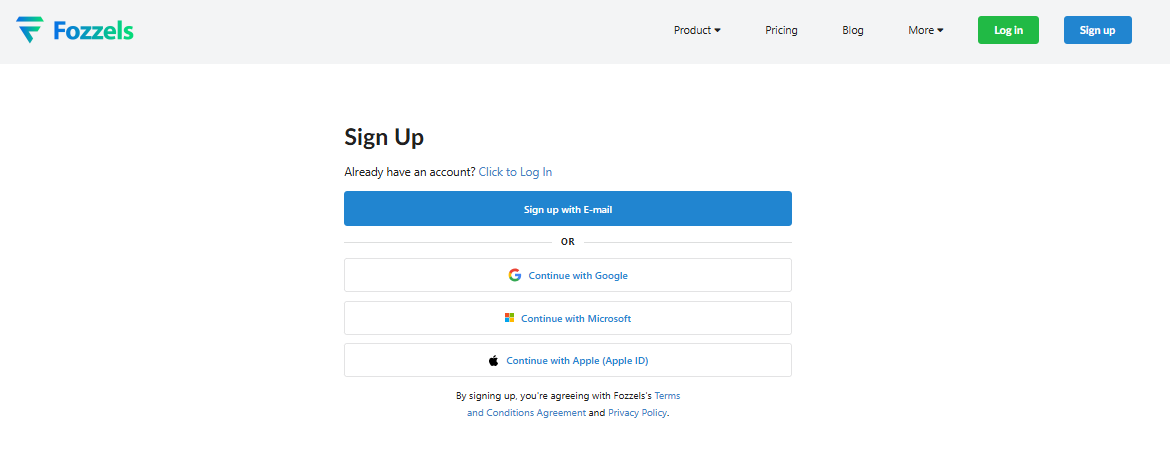
Choose your method: You can create your account using your email and password (manual sign-up), or instantly connect via your Google account, Apple ID, or Microsoft account.
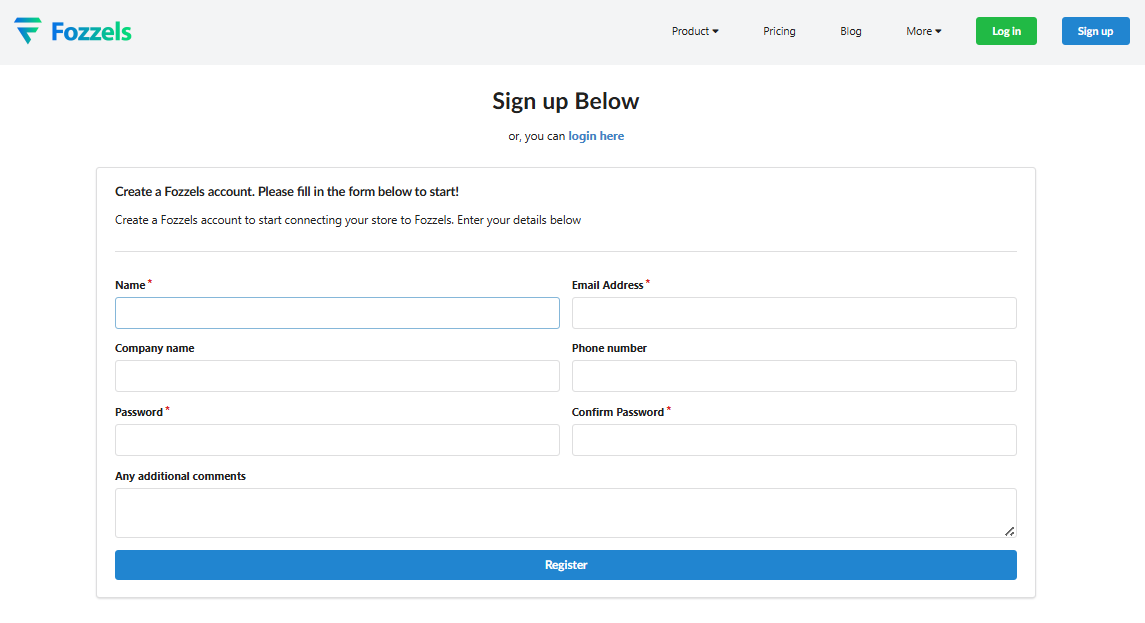
Fill out the form: If you sign up manually, you are required to enter your Name and Email. Fields for Company name, Phone number, and "About the company" are optional.
2.2. Email Verification
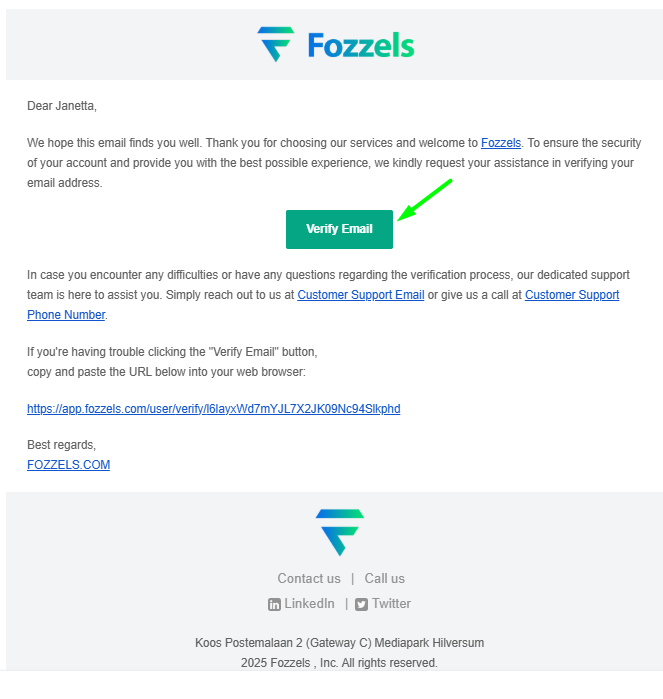
Receive Confirmation: After submitting the form, check your inbox for an email with the subject: "Confirm Your Email Address – Important Account Verification Required". It will be sent from Fozzels AI bot bot@app.fozzels.com.
Activate Account: Click the Verify Email button or the provided alternative link. This action immediately activates your account, allowing you to log in.
2.3. Onboarding Checklist: Your Path to Full Activation
After verifying your email, you will be redirected to the Welcome screen, where the essential 6-step Onboarding Checklist begins. Your account is fully activated only after all 6 steps are completed.
Welcome Message: The screen will state: "Your email has been verified and your account will be active after choosing a subscription".
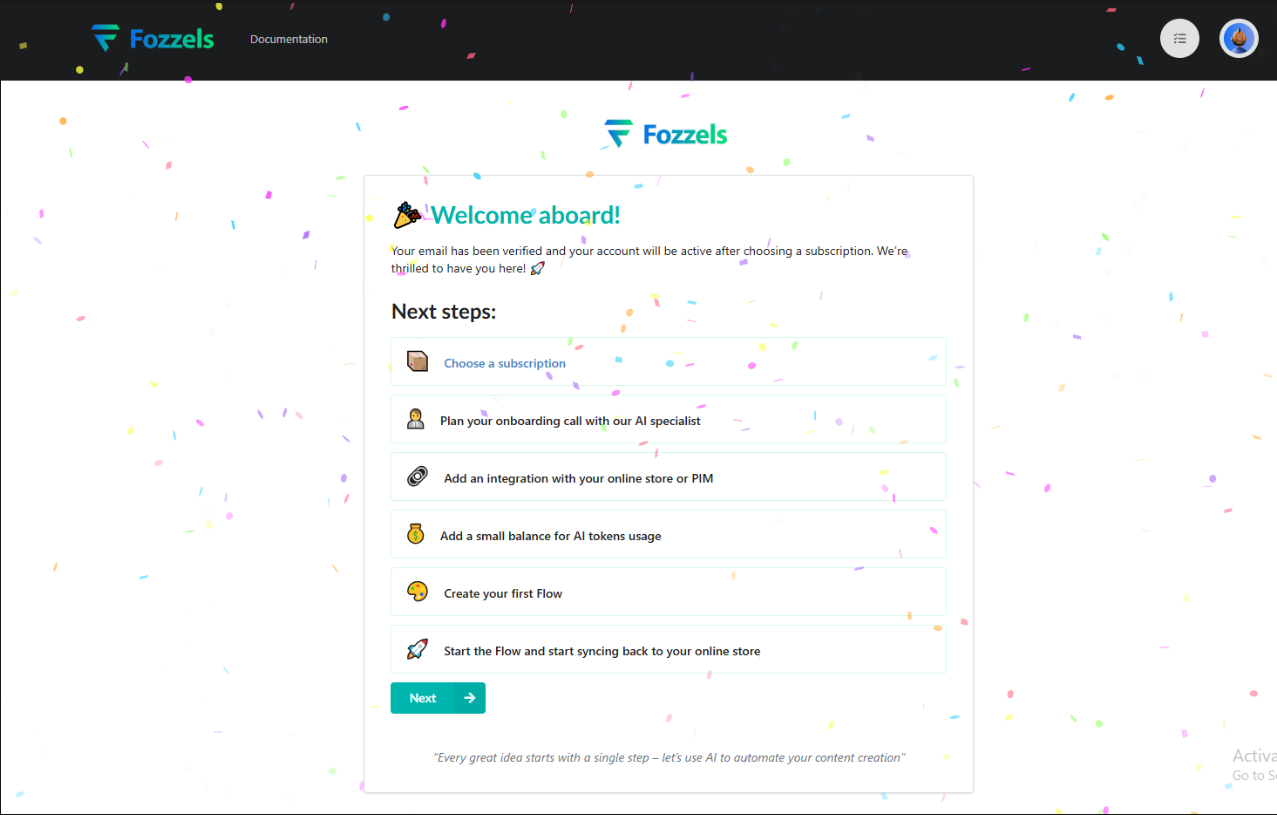
Onboarding Checklist
Choose a subscription: Select the plan that best fits your needs. You will be redirected to Stripe Checkout to finalize your purchase. Note: Your account is not fully active without a subscription.
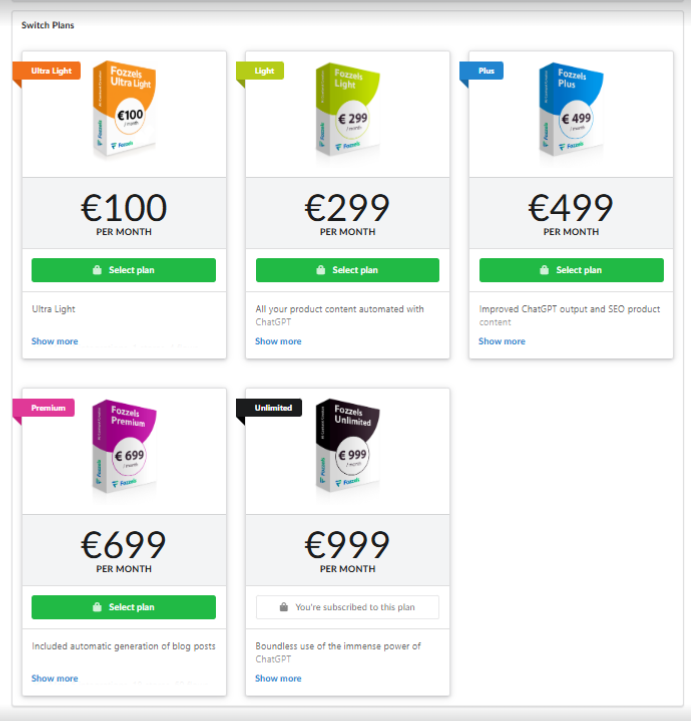
For detailed information on plan features, pricing, and limits, read more here.
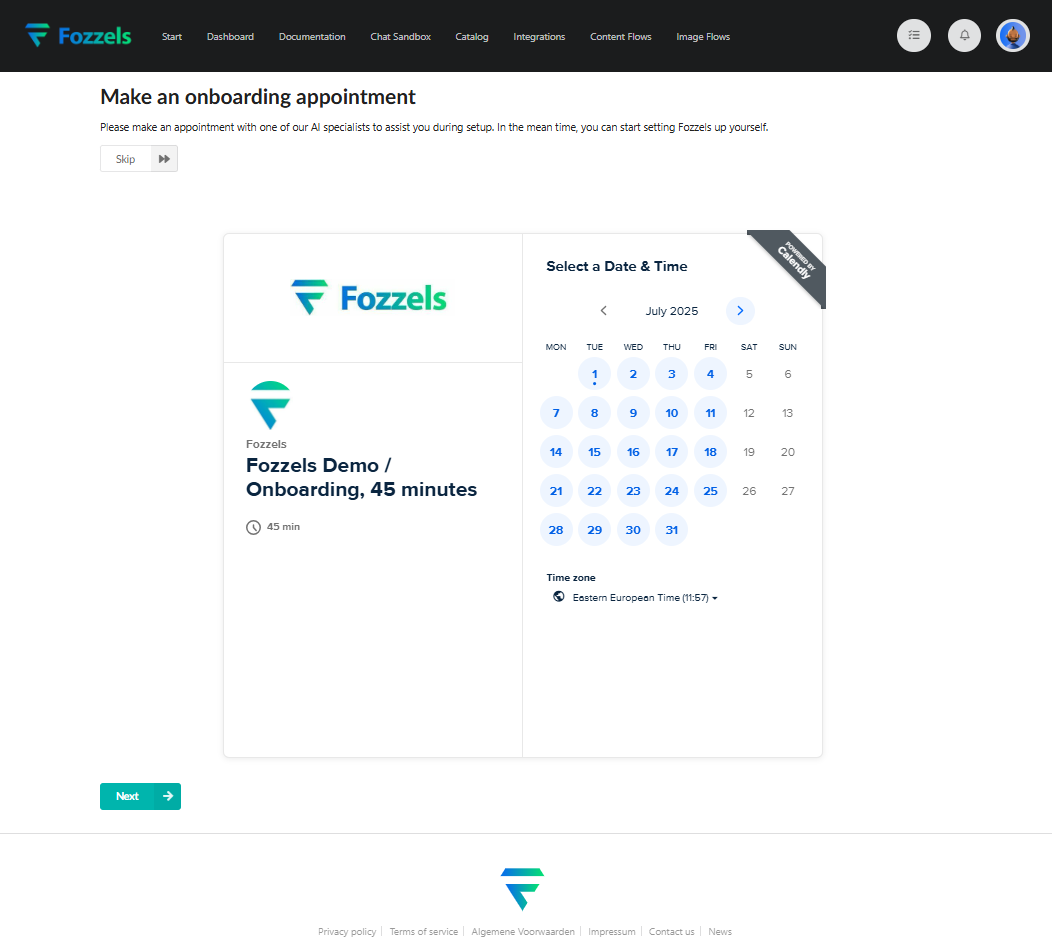
Plan your onboarding call: Use the embedded Calendly widget to quickly schedule a consultation call with a Fozzels specialist.
Add an integration: Connect your online store or PIM system. This is essential for automatically syncing the content Fozzels generates.
For step-by-step instructions on connecting your store or PIM, read more here.
Add a small balance for AI tokens usage: Navigate to Payments Settings and click the "Charge Now" button to top up your account.
Note: A positive balance is required to generate content, as token usage is billed based on your plan and selected AI model.For details on managing your balance, payment methods, and auto-top-up settings, read more here.
Create your first Flow: Design your content generation scenario (Flow). You can start from a template or fully customize it (language, tone, structure, etc.).
For a full guide on creating, configuring, and testing your first content flow, read more here.
Start the Flow and start syncing back to your online store: Launch your Flow. Once running, and with your integration active, the generated texts will automatically synchronize with your store or PIM.
Was this article helpful?
That’s Great!
Thank you for your feedback
Sorry! We couldn't be helpful
Thank you for your feedback
Feedback sent
We appreciate your effort and will try to fix the article